Step 2: Assembling the Hardware
Work in progress
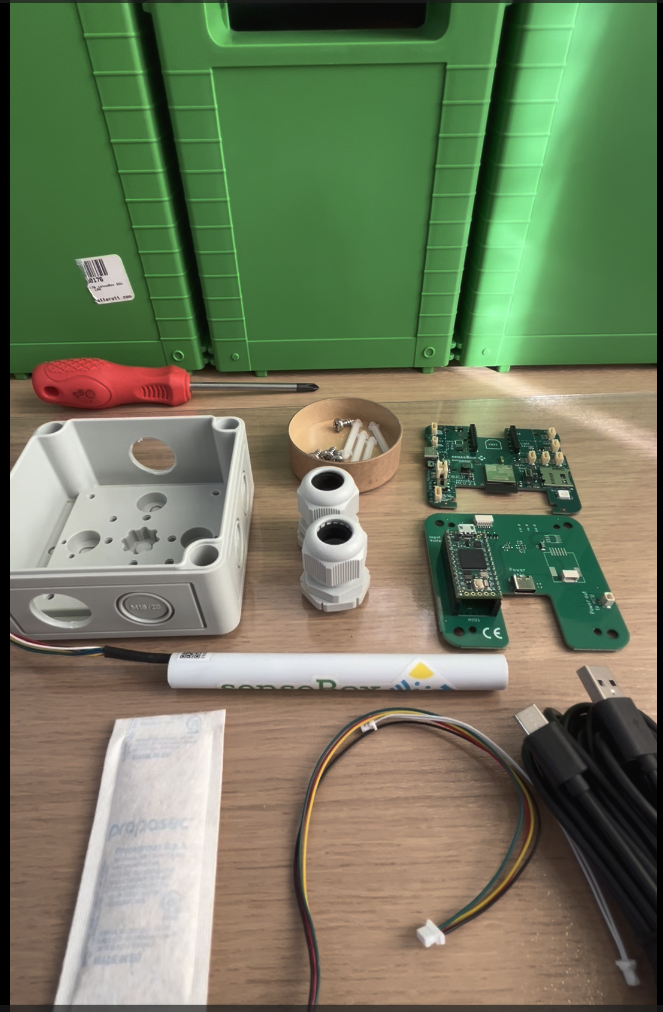
Overview of the Components
The senseBox:LoudnessMeter consists of the following components:
- senseBox MCU S2
- Adapter board und DNMS Teensy 4.0
- Mikrophone IM72D128V01 in a 12,7mm round tube
- 1× QWIIC cable, 1× power cable
- USB-C cable and power supply
- Enclosure, 2× M20 cable glands, 4× screws and 4× spacers
- Silica gel pouch
Additionally, you only need a screwdriver.
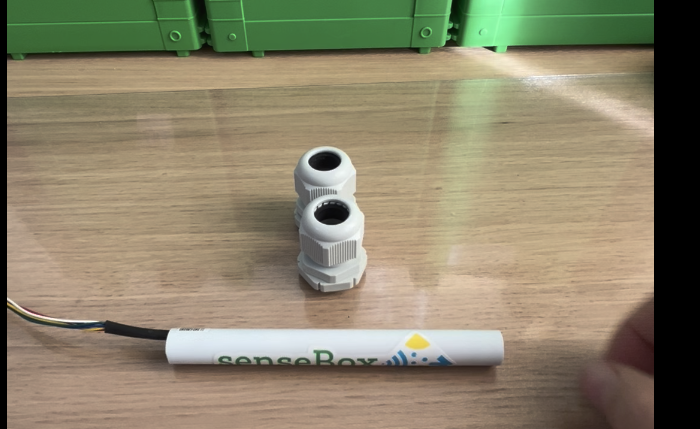
Attaching the Microphone
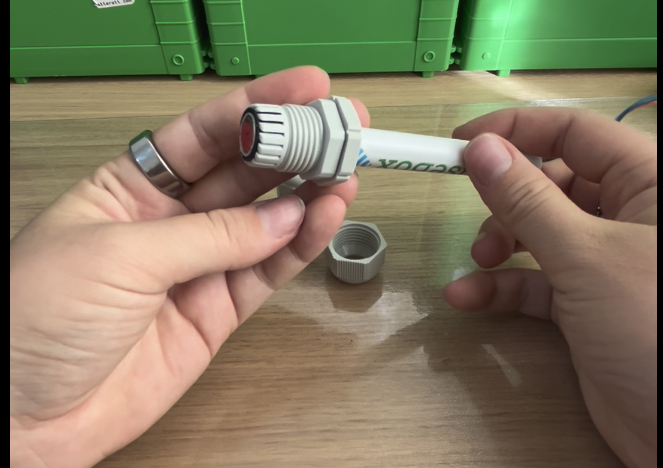
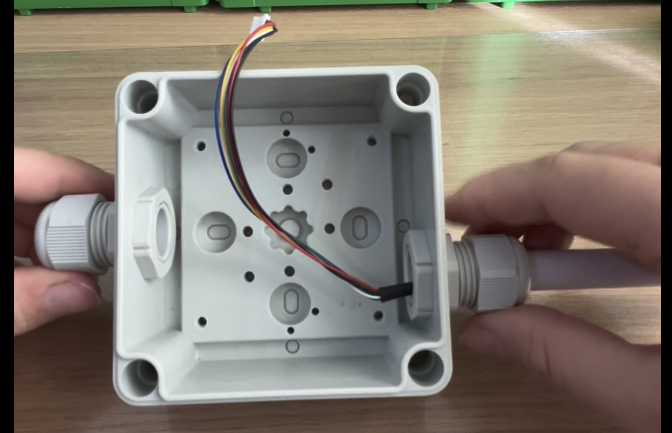
The microphone is attached to the enclosure through one of the cable glands. To do this, first remove the cap of the cable gland.
Because the opening is narrow, it is recommended to push the non-wired end of the microphone through the larger side of the cable gland.
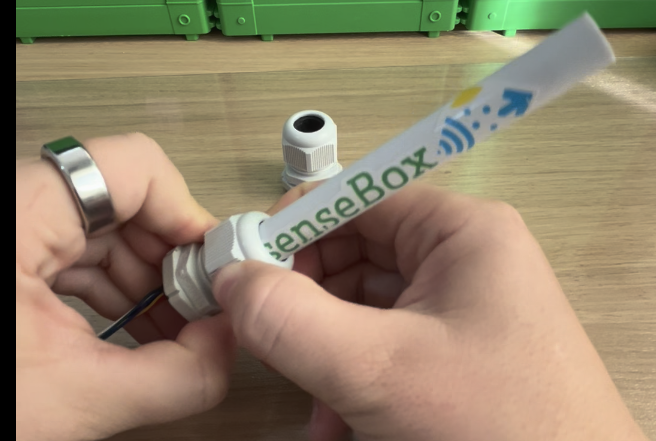
Then slide the cable gland all the way to the end of the microphone...

... and close it again using the cap.
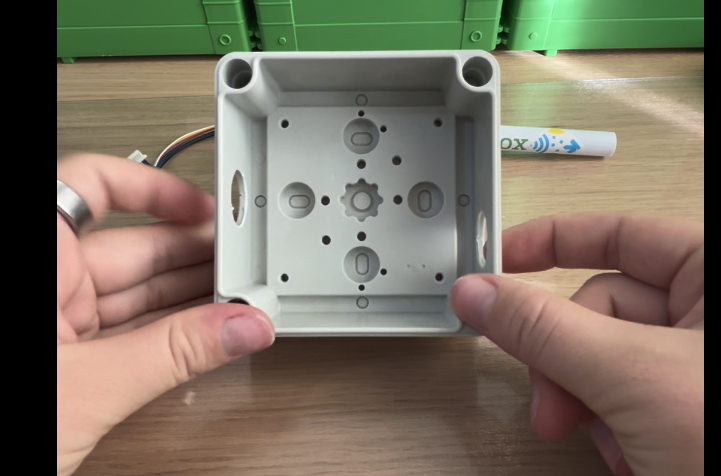
The enclosure should have two opposite openings:
- The middle opening is for the USB cable,
- the offset opening is for the microphone.
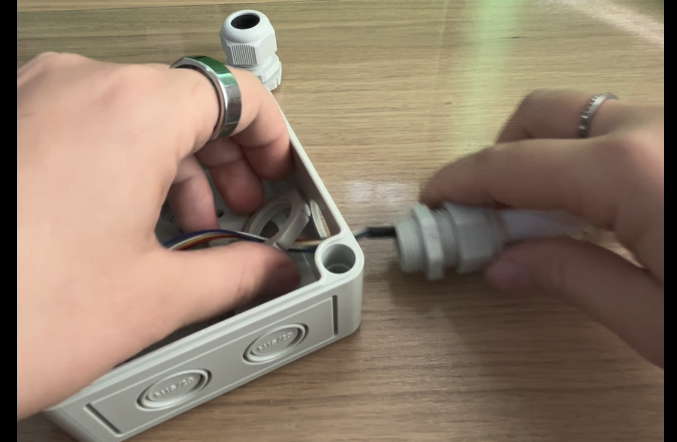
To mount the microphone, first remove the nut from the cable gland. Then feed the microphone cable and the gland from the outside through the opening in the enclosure and secure it with the nut on the inside.
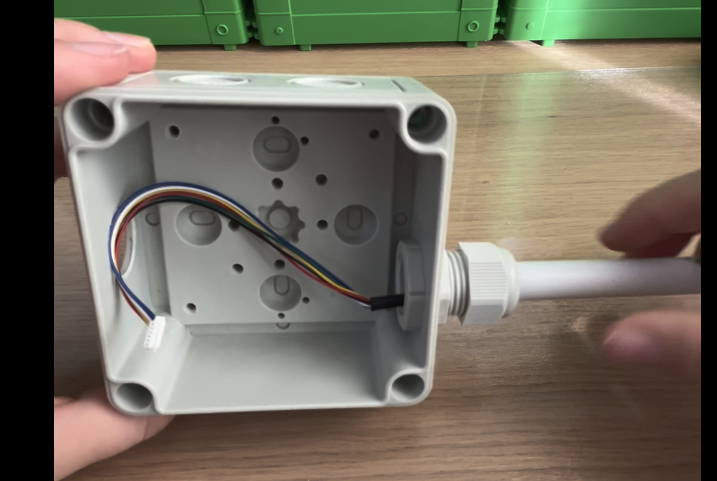
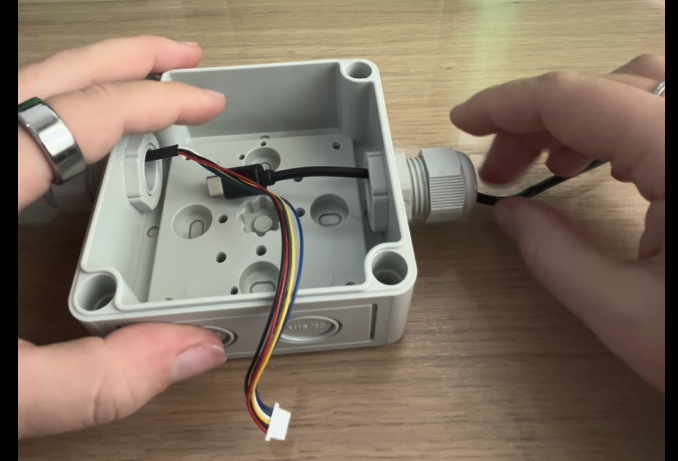
Next, attach the second cable gland on the other side of the enclosure.
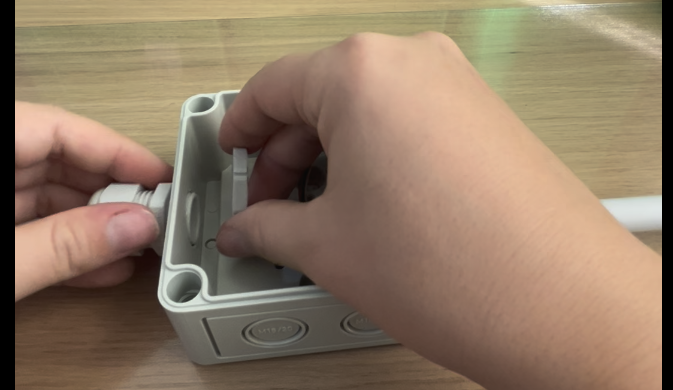
Feed the USB-C cable through this second gland.
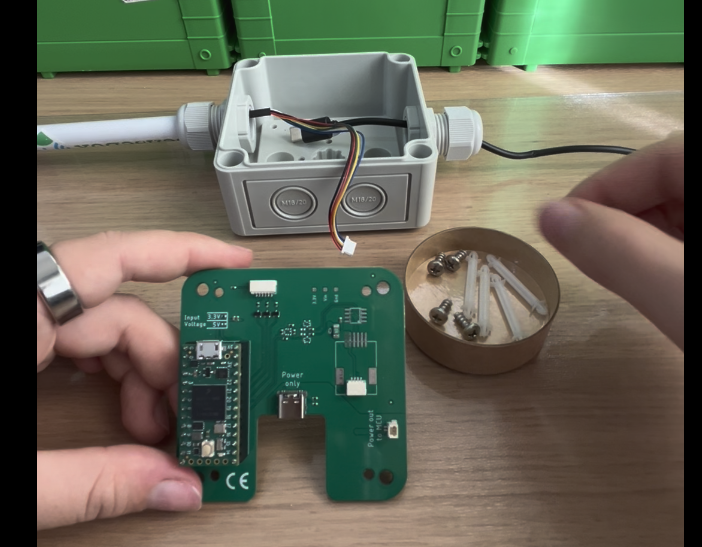
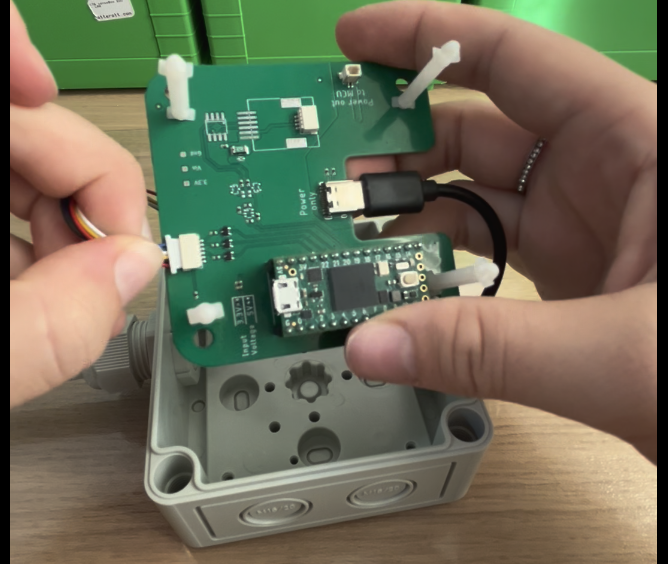
Preparing the Adapter Board
For the next step you need the Teensy adapter board, the four screws, and the four spacers.
First attach the spacers to the inner holes of the adapter board.

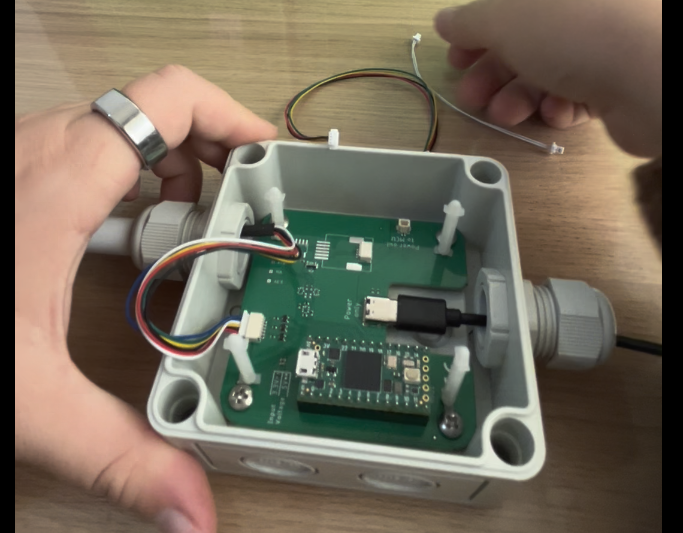
Next you should connect the cables to the adapter board. This step is much easier now, because once everything is mounted in the enclosure, there is very little space left.
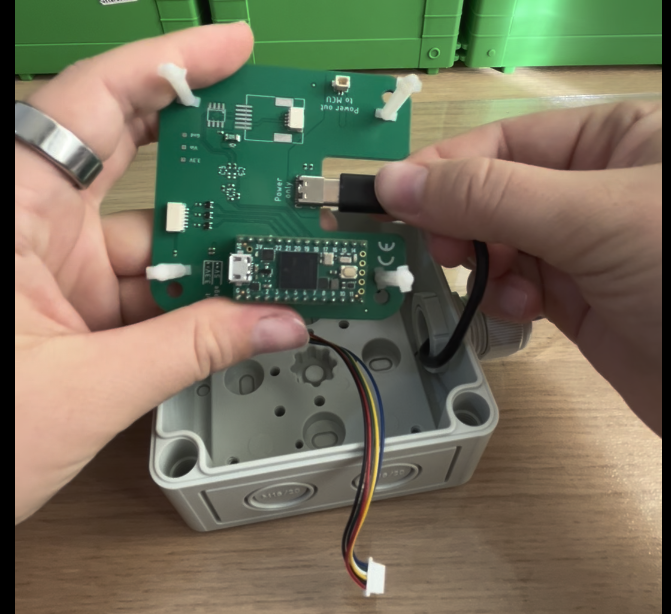
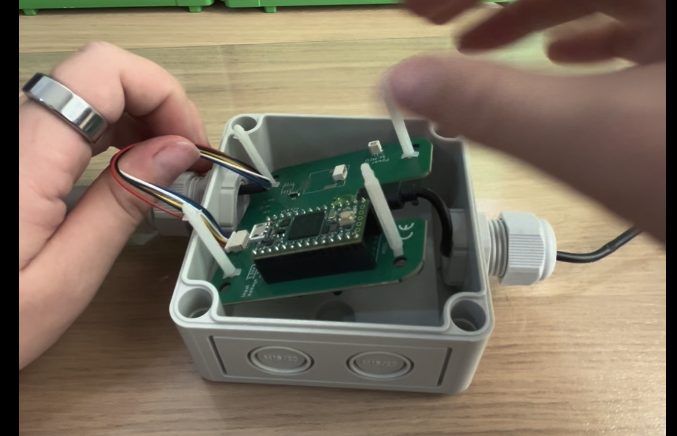
Insert the adapter board into the enclosure. First slide it under the microphone cable, then gently press down the other side until it lies flat.
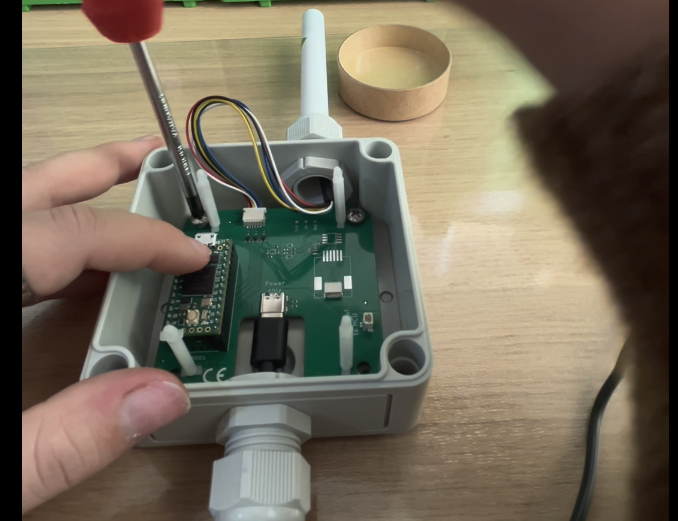
Mounting the Adapter Board in the Enclosure
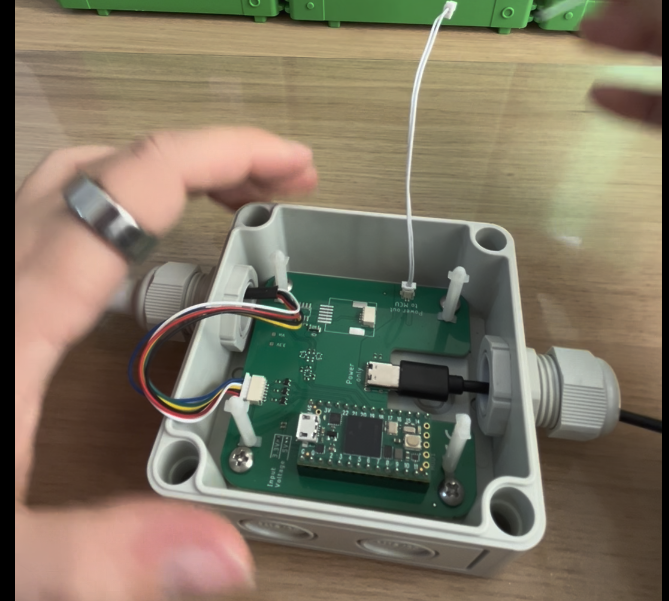
Align the holes of the adapter board with the mounting points in the enclosure and fix it with the four screws.
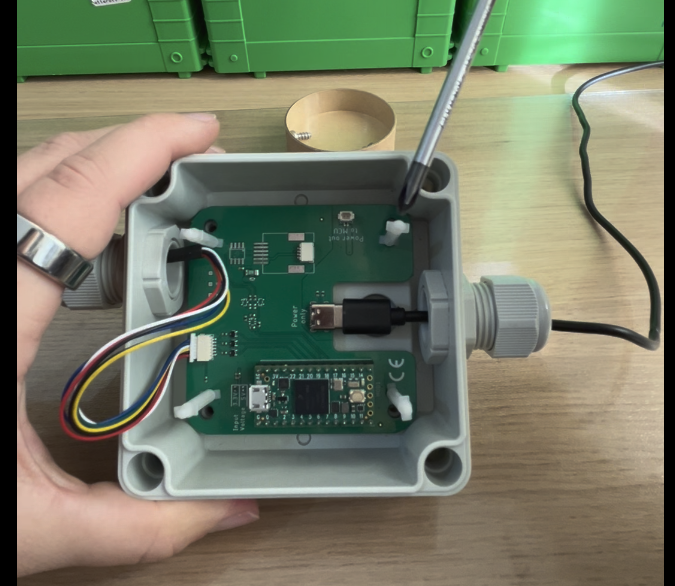
Connecting the Cables
Now connect the QWIIC cable and the power cable to the adapter board.
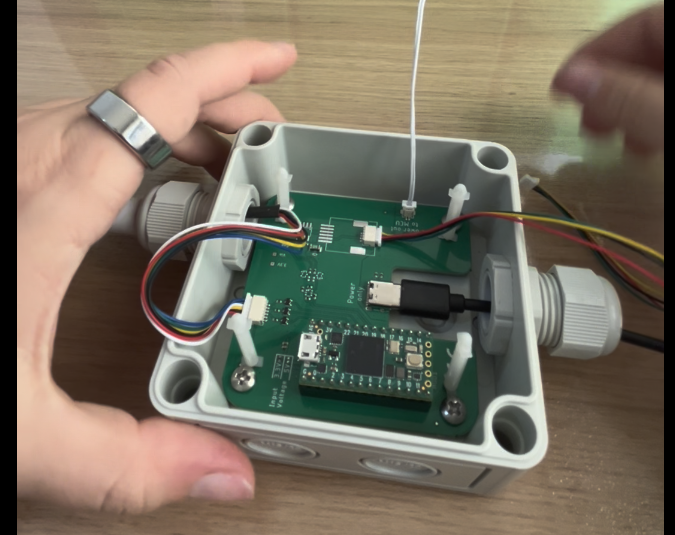
Before inserting the senseBox MCU S2, check how far the microphone should protrude from the enclosure. Now is also the right time to tighten the cable gland on the USB side to keep the enclosure as sealed as possible and prevent moisture from entering.
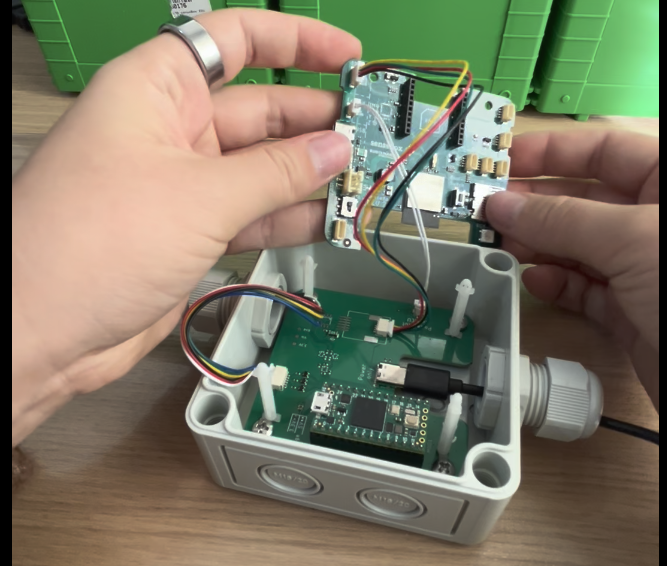
Connecting the senseBox MCU-S2
Now connect the senseBox MCU-S2 to the cables. Use the QWIIC and power connectors positioned above the USB-C port.
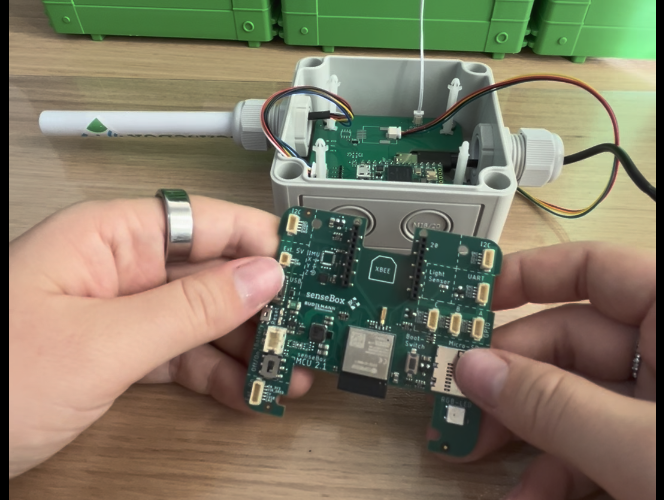
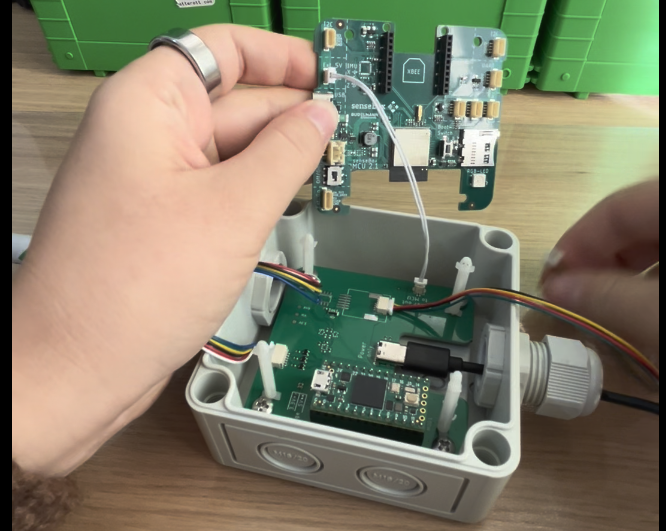
Before pressing the senseBox onto the spacers, place the silica gel pouch on the adapter board in the enclosure. It helps reduce moisture inside.
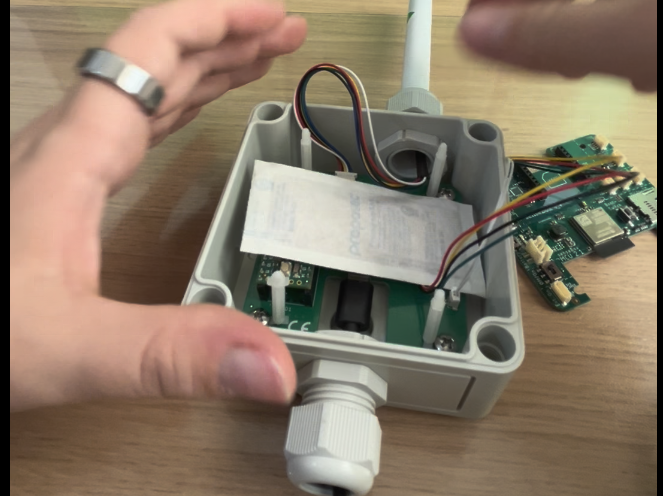
Then place the senseBox onto the spacers and press it down gently.
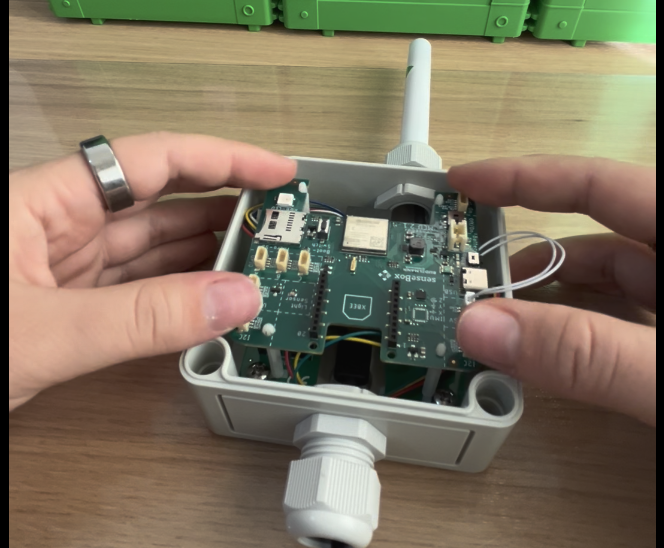
Finally, put on the enclosure lid and screw it in place - done!